
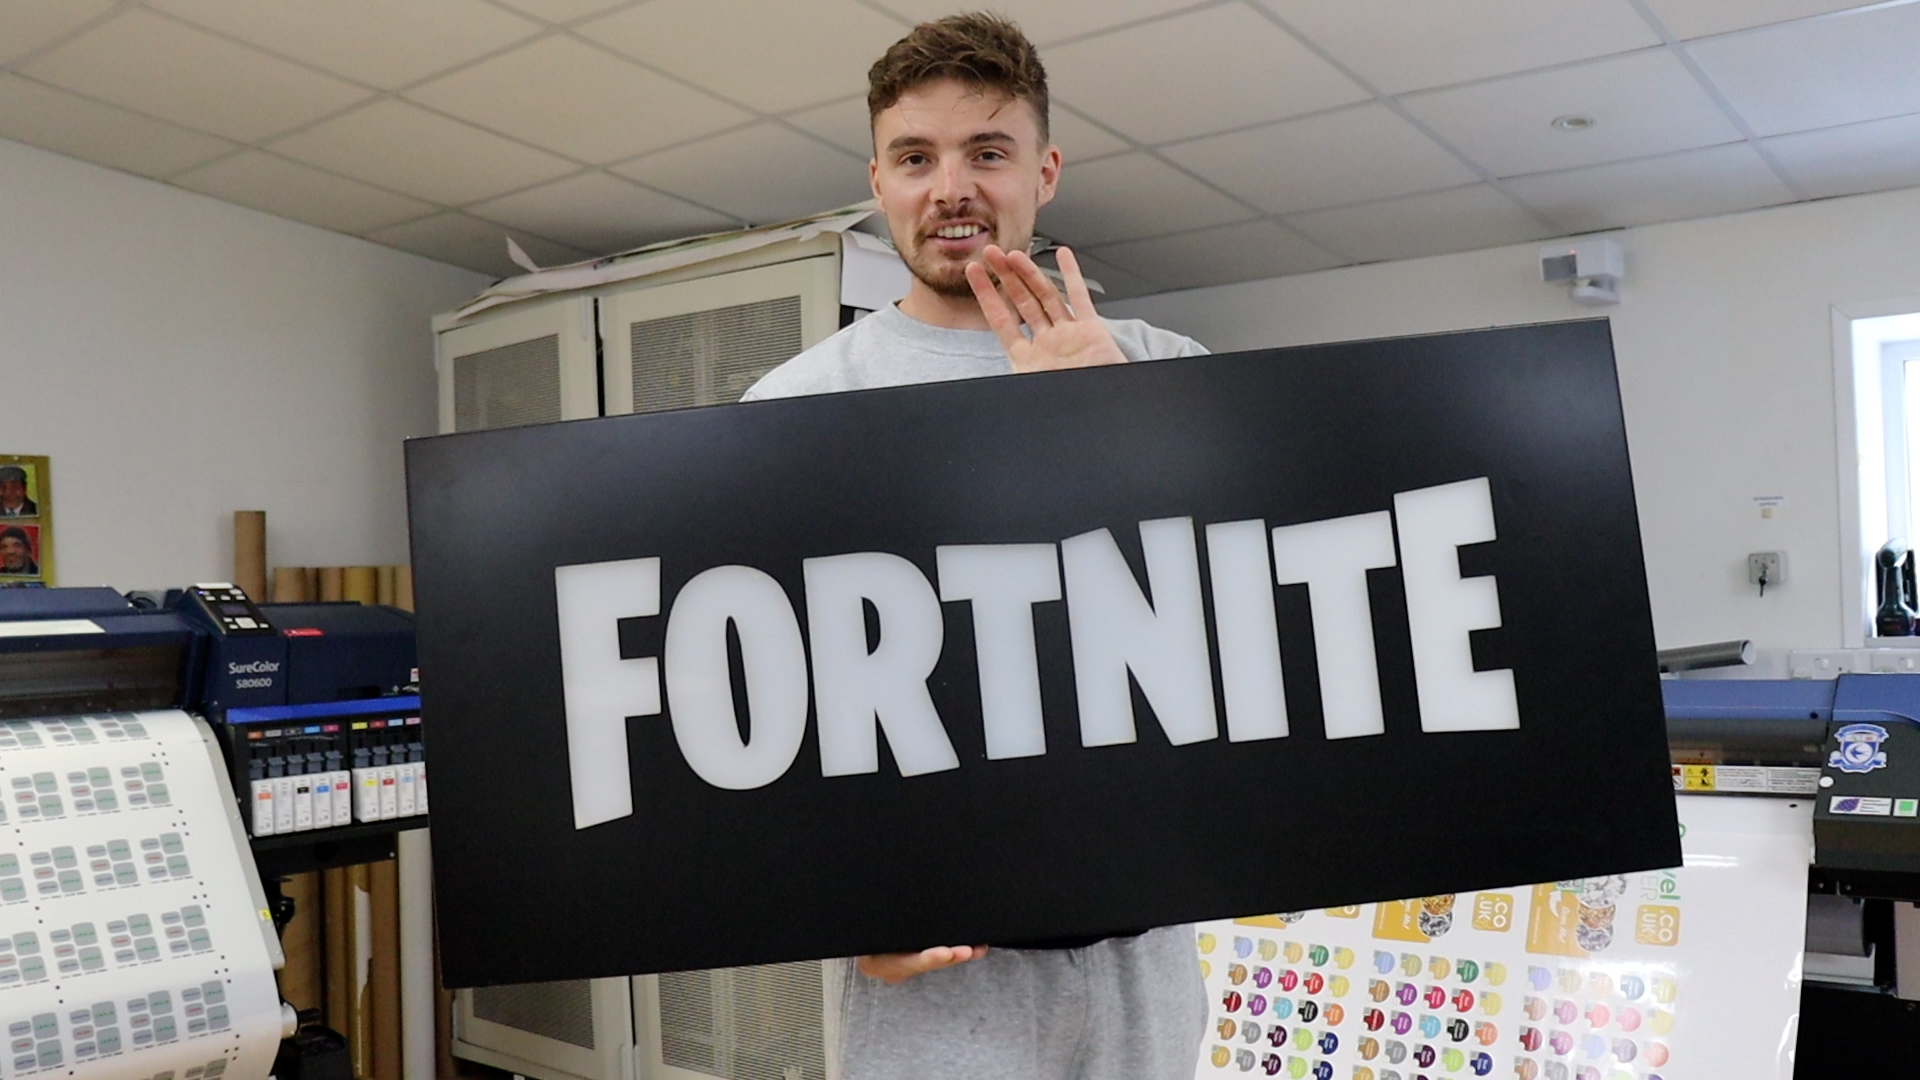
What is a folded tray sign?
A folded tray sign is a cost-effective alternative to flat signs, featuring a folded element to form a 3D shape. It’s made by folding the edges of a flat material to create a tray, which adds depth and conceals fixings for a seamless appearance. This provides a diversification of the flat sign with no visible fixings, adding dimension and providing extra protection. These signs are also customisable, with options like illumination, offering versatility in both design and function.
What are they made from?
Folded tray signs are commonly made from aluminium composite material (ACM), also known as dibond. It is ideal for outdoor use, as it is a lightweight and weather-resistant material. Depending on the requirements of the sign, other materials such as aluminium, stainless steel, or acrylic (Perspex) can also be used.
What are they used for?
In any case, folded tray signs can be used for a range of purposes, including shopfront signage, branding, and large outdoor displays. They offer a more polished look than flat signs and can be customised for various appearances, such as incorporating lighting for increased visibility. Suitable for both indoor and outdoor use, they are durable and withstand harsh weather. For instance, Aluminium trays can last over 25 years when properly maintained.
How Do I Make a Folded Tray Sign?
If you’re looking for a step-by-step video guide, check out our YouTube channel for a descriptive tutorial on how to make a tray sign. For a written, in depth guide, read on!
Step 1: Choose Your Material
Choosing the right material depends on a variety of contributing factors. Consider budget, design, location, and expected durability:
Budget-Friendly Option
Aluminium Composite Material (ACM) is an excellent choice for those seeking durability at a lower cost. It’s waterproof, lightweight, and ideal for printing or vinyl wrapping. Its malleability enhances its uniqueness as a budget-friendly material.
- Lightweight and weather-resistant
- Recyclable aluminium and plastic core
- Reduced production costs due to hand-folding
Sign Maker’s Choice
For a high-impact, long-lasting option, aluminium is recommended. Aluminium tray signs are durable and suitable for architectural and retail signage. Given that the encompassing vinyl wrap is occasionally maintained, repaired or replaced, an aluminium folded tray sign can last up to 25 years.
- High-impact and professional
- Durable, long-lasting material
- Requires machine bending, which can increase costs
Illuminated Tray Signs
To achieve an elevated design, consider illuminated folded tray signs with LED fittings. These signs offer internal lighting and are perfect for increasing brand visibility.
- Bright, even illumination
- Requires professional installation for electrical components
- Aluminium tray ensures longevity
Step 2: Cutting and Routing
The next step in the process involves cutting your chosen material to size.
Tools Required:
- A CNC router or panel saw is best for clean, precise cuts.
- A Zund CNC router can contour the material and create the necessary folds.
It’s important to measure the dimensions, ensuring that you account for the depth of the folds. Clearly mark your lines and cut slowly to avoid complications during folding. Consequently, this will help to eradicate mistakes and smooth edges.
The video above shows our reliable Zund CNC router, to which we entrust this part of the production process.
By automating the cutting process with the G3 Digital CNC Cutter, we can significantly reduce lead times and enhance product quality, ensuring that our products meet our promise of the highest standards.
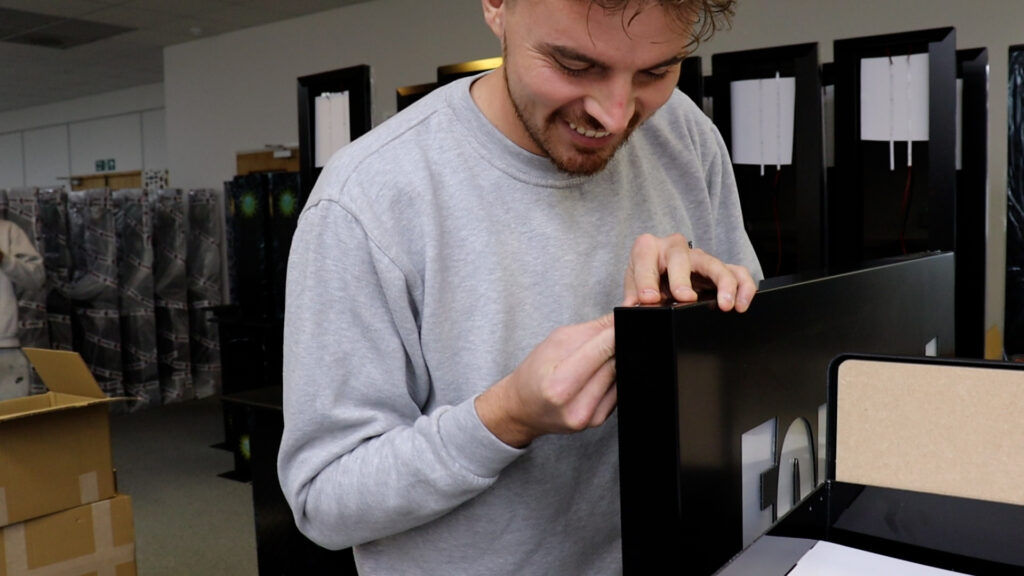
Step 3: Folding the edges
After cutting, the next step is to prepare the material for folding.
The router should only cut through the top layer of aluminium and part of the core, leaving the outer layer intact to ensure a crisp fold. Gently fold the scored edges by hand or with a bending tool. Apply even pressure to ensure consistent folds across the tray.
Folding by Hand
Start by placing the scored sheet flat on a sturdy work surface. Begin folding one edge upwards along the score line, applying even pressure across the entire length of the fold in a gradual manner. Work on one side at a time, repeating this process for all four edges of the tray.
Maintaining a 90-Degree Angle
The folds must be made at consistent 90-degree angles to ensure the tray maintains its box-like shape. You can use a square tool to check the angle as you fold each side.
Avoid Over-Bending
Be cautious not to over-bend the material, as this can weaken the aluminium or cause stress points that might compromise the sign’s durability.
Step 4: Securing the Tray with Brackets
Next, it’s time to hold the tray in shape. You can use aluminium brackets or rivets to secure the corners in place.
Aligning the Edges
Before placing in the brackets, ensure all corners are perfectly aligned at 90-degrees. Use clamps to hold the edges in place during the securing process. Check that the folds are tight and that the tray retains its proper shape.
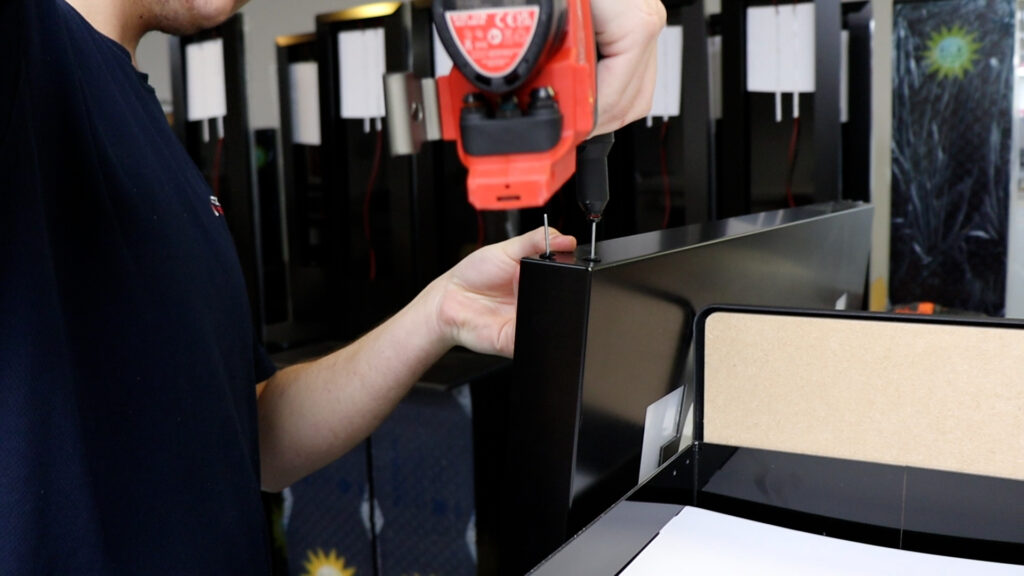
Step 5: Riveting
Riveting is a simple process that joins material semi-permanently. It involves drilling holes through the material, inserting rivets, and securing them to hold the tray’s corners firmly in place.
Drilling and Riveting
Properly align the tray’s corners at 90-degree angles to ensure you drill in the correct place. Carefully drill small holes through both layers of the folded aluminium at the corners. Insert rivets through these holes and use a rivet gun to pull the mandrel, expanding the rivet and securing the corners. Typically, two rivets per corner will provide sufficient stability, creating a strong bond without the need for welding, and maintaining the tray’s shape.
Step 6: Finishing Touches
After folding, smooth and seal any rough edges with edge trims for a professional finish.
To protect and prolong the life of the sign, you should apply a layer of protective paint. This will shield the surface from UV damage, moisture, and dirt. For additional protection, you can powder-coat the aluminium. Over and above protection, this will enhance the appearance of your folded tray sign and provide extra resistance to the elements.
Step 7: Installing the Tray Sign
There are a few options depending on the size and location of the sign:
Wall Mounting
- For wall-mounted signs, use a hidden fixing system to attach the tray securely. Ensure the wall is strong enough to support the weight and use appropriate fixings.
Post or Frame Mounting
- For larger or freestanding signs, the tray may need to be mounted onto posts or within a frame. A structural engineer might be needed to ensure the frame can handle wind loads and other environmental factors.
Looking for a custom tray sign or need a hand with your new project? Contact us today to get started!

Hi, I’m Georgia. I’m the Marketing and Communications Manager at Cornelius Design to Print, and our sister company, Cornelius Electronics. I look after all things strategy, SEO, socials and content creation!